How to Build a Wallet System with Flutterwave Payment Integration Into NodeJs Application

Software Engineer | Developer Advocate | Technical Writer | Content Creator
Today, many website owners want online payment gateways, especially as the industry has developed by leaps and bounds. Creating a wallet system is a bit of a nightmare when designing an app for the health sector, finance, or other sectors.
We will learn how to create a wallet system and integrate the Flutterwave payment system in this tutorial.
Prerequisites
To follow along with this tutorial, we will need:
- A working knowledge of JavaScript.
- A good understanding of Node.js.
- A basic understanding of MongoDB or any database of our choice.
- Postman and some knowledge on using Postman.
We also need a Flutterwave account to receive or accept payments from our application.
What is a Wallet System?
A digital wallet, often known as an e-wallet, is an electronic device, internet service, or software application that allows one party to exchange digital currency units for products and services with another party. This can include utilizing a computer to purchase products online or using a smartphone to buy in a store.
Before any transactions, money can be deposited in the digital wallet, or an individual's bank account can be linked to the digital wallet in other situations.
What Are the Benefits of a Digital Wallet?
Instead of having to fish your card out of your likely bulging wallet every time you want to make an online transaction, you can simply hold your smartphone, log into your account, and you're ready to go.
Most applications allow you to organize all of your information in a readily accessible manner, saving you time from rummaging through your wallet for the things you need.
Many digital wallet apps offer a variety of bonuses and prizes to their users, which might help you get more "bang for your buck" on specific transactions.
What is Flutterwave?
From online collections to payouts and everything in between, Flutterwave can help you develop any form of payment flow for your specific use case.
They also provide several services that allow you to transfer and receive money over the world in a matter of minutes.
Create a directory, Install dependencies, and set up authentication
To get started, we'll need to set up our project.
Open Visual Studio Code by navigating to a directory of our choice on our machine and opening it on the terminal.
Then execute:
code.
Note:
code .won't work if we don't have Visual Studio Code installed on our system.
Create a directory and initialize npm.
Create a directory and initialize npm by typing the following command:
- Windows power shell
mkdir wallet-demo-with-flutterwave

cd wallet-demo-with-flutterwave

npm init -y
- Linux
mkdir wallet-demo-with-flutterwave

cd wallet-demo-with-flutterwave

npm init -y
Create files and directories
In the earlier step, we initialized npm with the command `npm init -y', which automatically created a package.json.
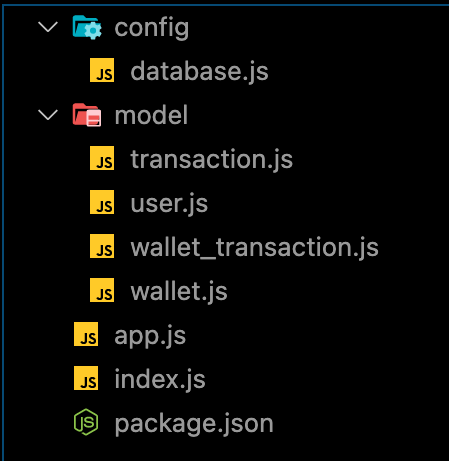
We need to create the model, config directory, and files, for example, wallet.js, wallet_transaction.js, transaction.js, database.js using the commands below.
mkdir model config

touch config/database.js model/wallet.js model/wallet_transaction.js model/transaction.js model/user.js
We can now create the index.js and app.js files in the root directory of our project with the command.
touch app.js index.js
As shown in the image below:
Install dependencies
We'll install several dependencies like mongoose, jsonwebtoken, express, dotenv, axios, bcryptjs, and development dependency like nodemon to restart the server as we make changes automatically.
We will install mongoose because I will be using MongoDB in this tutorial.
User credentials will be checked against what we have in our database. As a result, the entire authentication process isn't limited to the database we'll use in this tutorial.
npm install jsonwebtoken dotenv mongoose express bcryptjs

npm install nodemon -D
Create a Node.js server and connect your database
By adding the following snippets to our app.js, index.js, database.js, .env in that order, we can now create our Node.js server and connect it to our database.
In our database.js.
config/database.js:
const mongoose = require("mongoose");

const { MONGO_URI } = process.env;

exports.connect = () => {
  // Connecting to the database
  mongoose
    .connect(MONGO_URI, {
      useNewUrlParser: true,
      useUnifiedTopology: true,
    })
    .then(() => {
      console.log("Successfully connected to database");
    })
    .catch((error) => {
      console.log("database connection failed. exiting now...");
      console.error(error);
      process.exit(1);
    });
};
In our app.js:
wallet-demo-with-flutterwave/app.js
require("dotenv").config();
require("./config/database").connect();
const express = require("express");
const bcrypt = require("bcryptjs");
const jwt = require("jsonwebtoken");

const app = express();

app.use(express.json());

// Logic here

module.exports = app;
In our index.js:
wallet-demo-with-flutterwave/index.js
const http = require("http");
const app = require("./app");
const server = http.createServer(app);

const { API_PORT } = process.env;
const port = process.env.PORT || API_PORT;

// server listening
server.listen(port, () => {
  console.log(`Server running on port ${port}`);
});
If you notice, our file needs some environment variables. We will create a new .env file and add our variables before starting our application.
In our .env.
API_PORT=4001

MONGO_URI= //Your database URI here
To start our server, edit the scripts object in our package.json to look like the one below.
"scripts": {
    "start": "node index.js",
    "dev": "nodemon index.js",
    "test": "echo \"Error: no test specified\" && exit 1"
  }
The snippet above has been successfully inserted into app.js, index.js, and database.js. First, we built our node.js server in index.js and imported the app.js file with routes configured.
Then, as indicated in database.js, we used mongoose to create a connection to our database.
Execute the command npm run dev.
Both the server and the database should be up and running without crashing.
Create user model and route
We'll define our schema for the user details when signing up for the first time and validate them against the saved credentials when logging in.
Add the following snippet to user.js inside the model folder.
model/user.js
const mongoose = require("mongoose");

const userSchema = new mongoose.Schema({
  first_name: { type: String, default: null },
  last_name: { type: String, default: null },
  email: { type: String, unique: true },
  password: { type: String },
});

module.exports = mongoose.model("user", userSchema);
Now let's create the routes for register and login, respectively.
app.js file in the root directory, we will add the following snippet for user registration and login.
// importing user context
const User = require("./model/user");

// Register
app.post("/register", (req, res) => {
// our register logic goes here...
});

// Login
app.post("/login", (req, res) => {
// our login logic goes here
});
Implement register and login functionality
We'll be implementing these two routes in our application. We will be using JWT to sign the credentials and bycrypt to encrypt the password before storing them in our database.
From the /register route, we will:
- Get user input.
- Validate user input.
- Validate if the user already exists.
- Encrypt the user password.
- Create a user in our database.
- And finally, create a signed JWT token.
Modify the /register route structure we created earlier, as shown below.
// ...

app.post("/register", async (req, res) => {

  // Our register logic starts here
  try {
    // Get user input
    const { first_name, last_name, email, password } = req.body;

    // Validate user input
    if (!(email && password && first_name && last_name)) {
      res.status(400).send("All input is required");
    }

    // check if user already exist
    // Validate if user exist in our database
    const oldUser = await User.findOne({ email });

    if (oldUser) {
      return res.status(409).send("User Already Exist. Please Login");
    }

    //Encrypt user password
    encryptedPassword = await bcrypt.hash(password, 10);

    // Create user in our database
    const user = await User.create({
      first_name,
      last_name,
      email: email.toLowerCase(), // sanitize: convert email to lowercase
      password: encryptedPassword,
    });

    // Create token
    const token = jwt.sign(
      { user_id: user._id, email },
      process.env.TOKEN_KEY,
      {
        expiresIn: "2h",
      }
    );
    // save user token
    user.token = token;

    // return new user
    res.status(201).json(user);
  } catch (err) {
    console.log(err);
  }
  // Our register logic ends here
});

// ...
Note: Update your .env file with a TOKEN_KEY, which can be a random string.
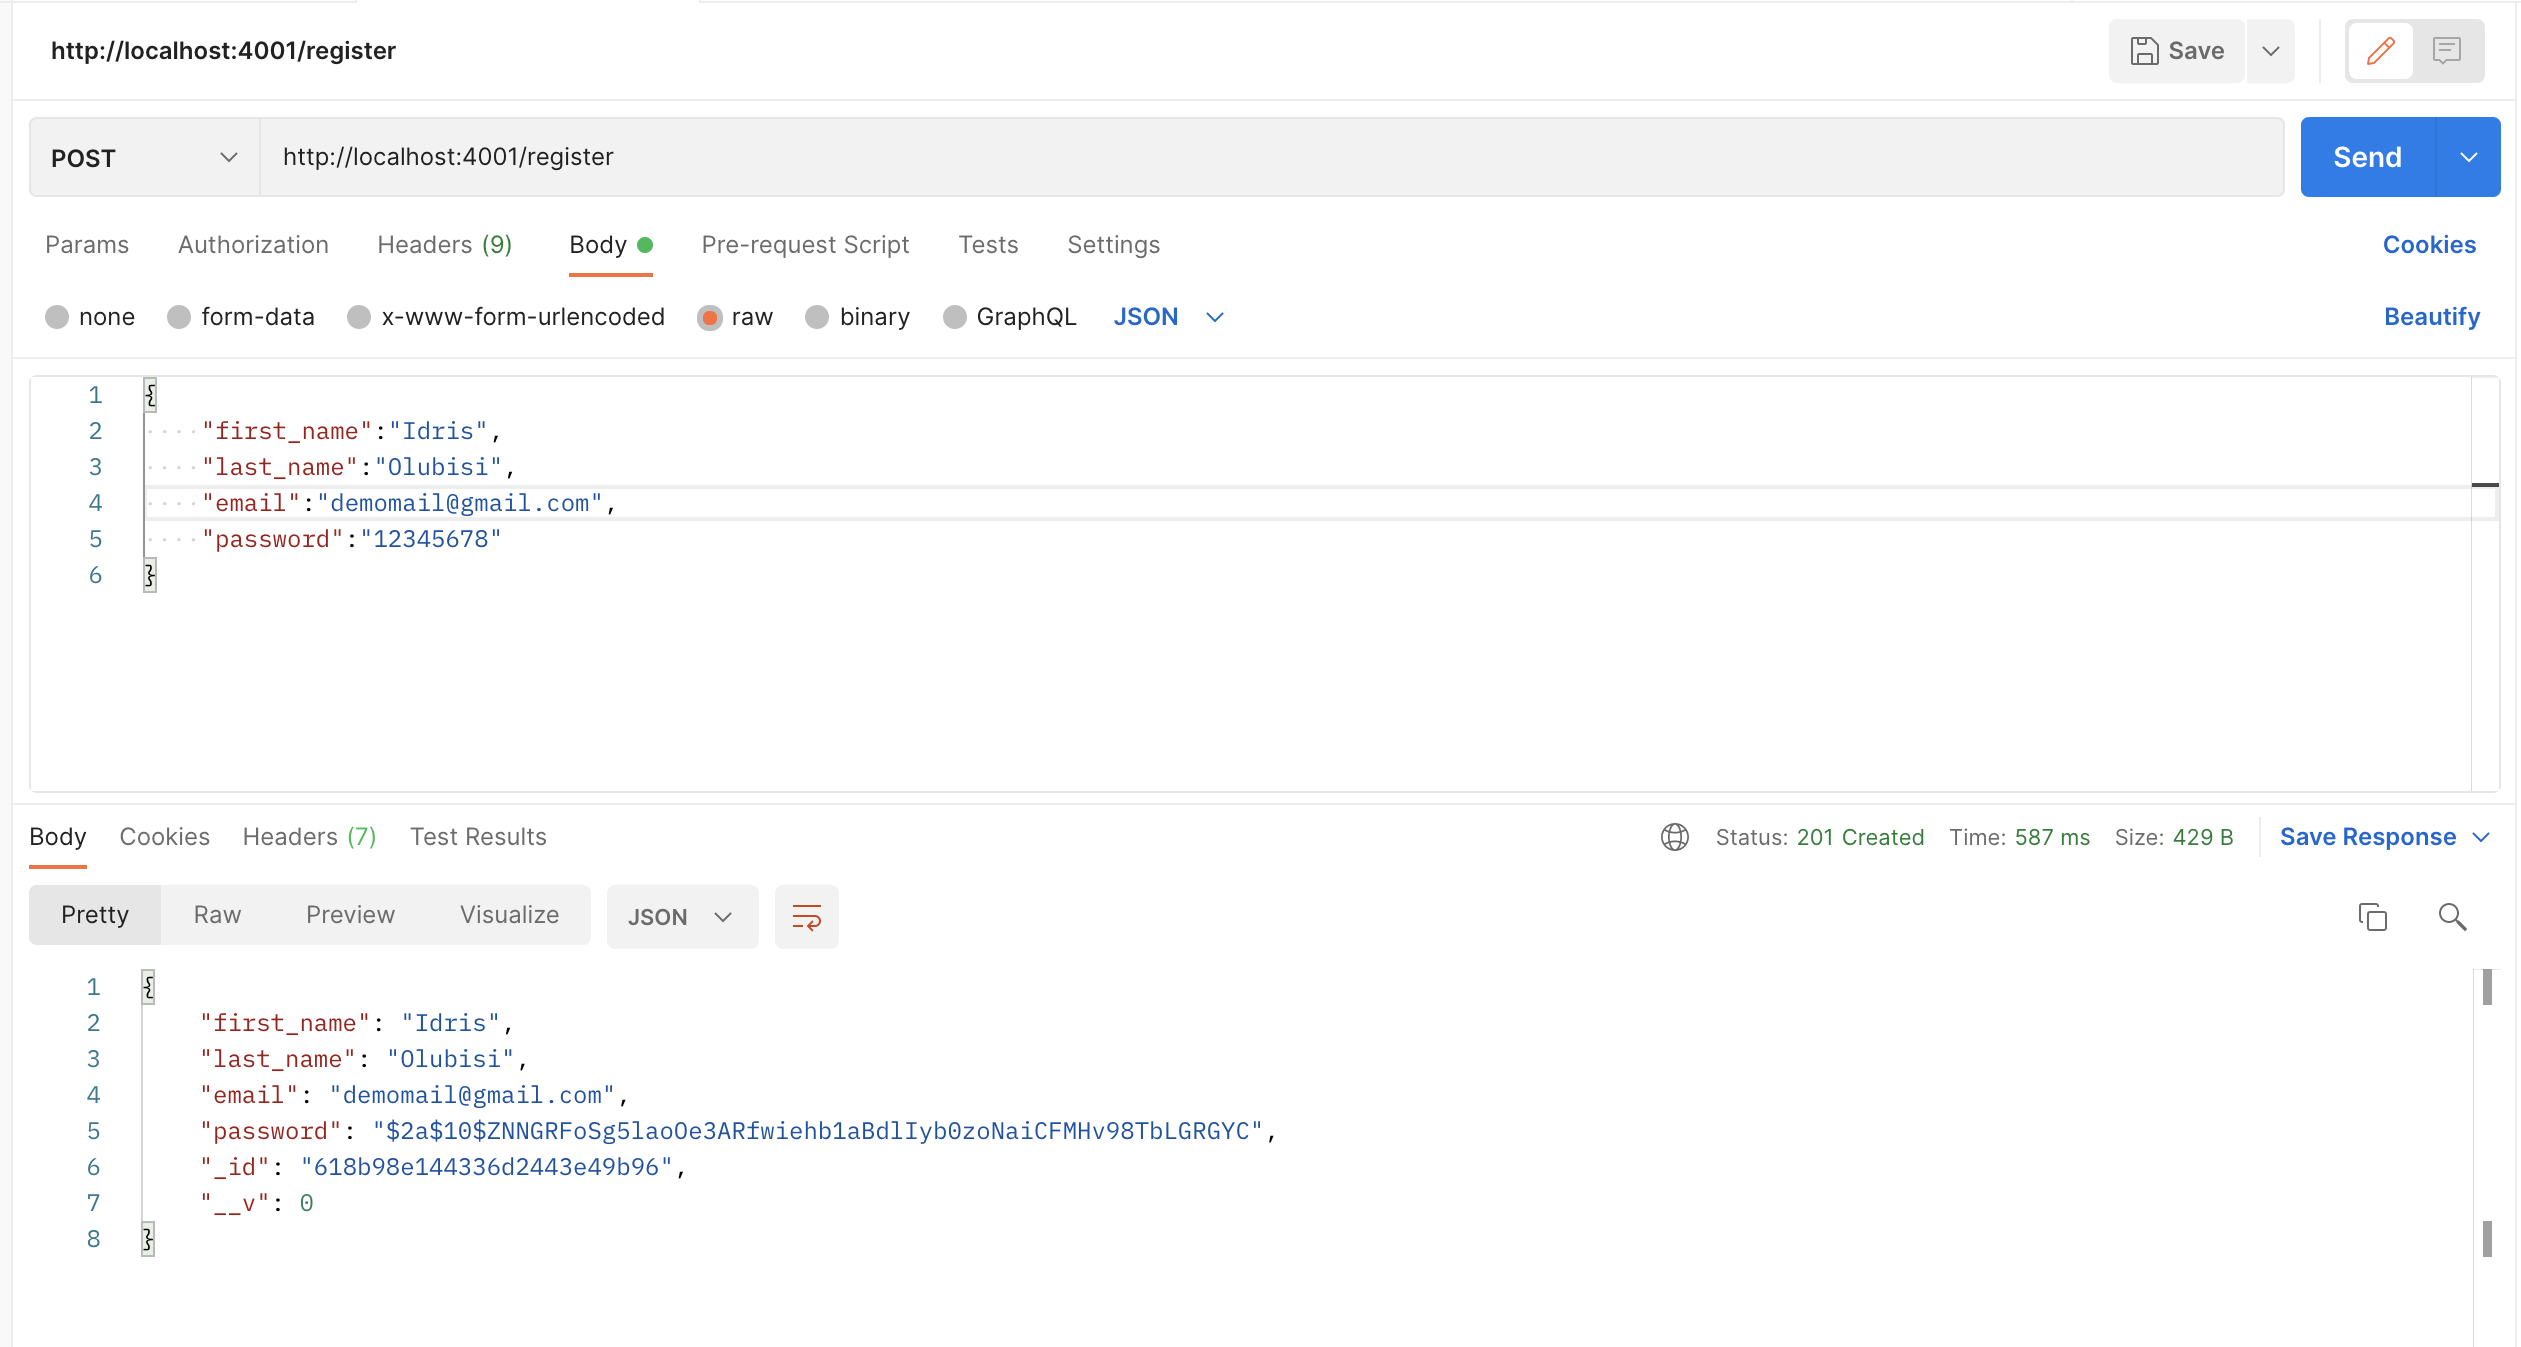
Using Postman to test the endpoint, we'll get the below response after a successful registration.
/login
// ...

app.post("/login", async (req, res) => {

  // Our login logic starts here
  try {
    // Get user input
    const { email, password } = req.body;

    // Validate user input
    if (!(email && password)) {
      res.status(400).send("All input is required");
    }
    // Validate if user exist in our database
    const user = await User.findOne({ email });

    if (user && (await bcrypt.compare(password, user.password))) {
      // Create token
      const token = jwt.sign(
        { user_id: user._id, email },
        process.env.TOKEN_KEY,
        {
          expiresIn: "2h",
        }
      );

      // save user token
      user.token = token;

      // user
      res.status(200).json(user);
    }
    res.status(400).send("Invalid Credentials");
  } catch (err) {
    console.log(err);
  }
  // Our login logic ends here
});

// ...
Click here to learn more about How to Build an Authentication API with JWT Token in Node.js
Build a Wallet System with Flutterwave Payment Integration
We can now utilize the user details to build wallets, save wallet transactions, and perform other operations in the system now that we have successfully created a user collection and authentication functionality in the previous step.
Using the following code, we can update our wallet.js, wallet_transaction, and transaction.
model/wallet.js
const { Schema, model } = require("mongoose");

const walletSchema = Schema(
  {
    balance: { type: Number, default: 0 },
    userId: {
      type: Schema.Types.ObjectId,
      required: true,
      ref: "users",
    },
  },
  { timestamps: true }
);

module.exports = model("wallet", walletSchema);
model/wallet_transaction.js
const mongoose = require("mongoose");

const walletTransactionSchema = new mongoose.Schema(
  {
    amount: { type: Number, default: 0 },

    // Even though user can be implied from wallet, let us
    // double save it for security
    userId: {
      type: String,
      ref: "users",
      required: true,
    },

    isInflow: { type: Boolean },

    paymentMethod: { type: String, default: "flutterwave" },

    currency: {
      type: String,
      required: [true, "currency is required"],
      enum: ["NGN", "USD", "EUR", "GBP"],
    },

    status: {
      type: String,
      required: [true, "payment status is required"],
      enum: ["successful", "pending", "failed"],
    },
  },
  { timestamp: true }
);

module.exports = mongoose.model("walletTransaction", walletTransactionSchema);
model/transaction.js
const mongoose = require("mongoose");

const transactionSchema =new mongoose.Schema(
  {
    userId: {
      type: Schema.Types.ObjectId,
      ref: "user",
    },
    transactionId: {
      type: Number,
      trim: true,
    },
    name: {
      type: String,
      required: [true, "name is required"],
      trim: true,
    },
    email: {
      type: String,
      required: [true, "email is required"],
      trim: true,
    },
    phone: {
      type: String,
    },
    amount: {
      type: Number,
      required: [true, "amount is required"],
    },
    currency: {
      type: String,
      required: [true, "currency is required"],
      enum: ["NGN", "USD", "EUR", "GBP"],
    },
    paymentStatus: {
      type: String,
      enum: ["successful", "pending", "failed"],
      default: "pending",
    },
    paymentGateway: {
      type: String,
      required: [true, "payment gateway is required"],
      enum: ["flutterwave"], // Payment gateway might differs as the application grows
    },
  },
  {
    timestamps: true,
  }
);

module.exports = mongoose.model("Transaction", transactionSchema);
We've created our wallet, wallet transaction, and transaction schemas, which means we can now receive funds from the client, validate payment using flutterwave on the backend, record and update payment details in the wallet, wallet transaction, and transaction collections, respectively.
Let's get the front-end client ready to accept payments from clients.
We will use the following command to create an index.html file in our root directory.
touch index.html
Update index.html that we just created with the snippet below:
<!DOCTYPE html>
<html lang="en">
  <head>
    <meta charset="UTF-8" />
    <meta name="viewport" content="width=device-width, initial-scale=1.0" />
    <title>Receive Payment</title>
  </head>
  <body>
    <form>
      <script src="https://checkout.flutterwave.com/v3.js"></script>
      <button type="button" onClick="makePayment()">Pay Now</button>
    </form>

    <script>
      function makePayment() {
        FlutterwaveCheckout({
          public_key: "YOUR_PUBLIC_KEY_HERE",
          tx_ref: "hooli-tx-1920bbtyt",
          amount: 1000,
          currency: "NGN",
          country: "NG",
          payment_options: "card",

          // specified redirect URL
          redirect_url: "http://localhost:4001/response",

          // use customer details if user is not logged in, else add user_id to the request
          customer: {
            email: "demomail@gmail.com",
            phone_number: "08088098622",
            name: "Idris Olubisi",
          },
          callback: function (data) {
            console.log(data);
          },
          onclose: function () {
            // close modal
          },
          customizations: {
            title: "Flutterwave Demo",
            description: "Flutterwave Payment Demo",
            logo: "https://cdn.iconscout.com/icon/premium/png-256-thumb/payment-2193968-1855546.png",
          },
        });
      }
    </script>
  </body>
</html>
You can learn more about the snippet above from the Flutterwave documentation
Updating our app.js to render the index.html file from the server-side, we will use the following snippet:
const path = require('path');

// ...

app.post("/login", async (req, res) => {
//...
}

// Add the route below
app.get("/pay", (req, res) => {
  res.sendFile(path.join(__dirname + "/index.html"));
  //__dirname : It will resolve to your project folder.
});

//...
Before we test our app, we'll see the phrase 'YOUR_PUBLIC_KEY_HERE' in the 'index.html' we created earlier, which implies we'll need a public key from our flutterwave dashboard. Let's go to our dashboard to retrieve our public key.

Let's test it out by going to our browser and typing http://localhost:4001/pay. We should see something similar to what we have below after clicking the Pay Now button:
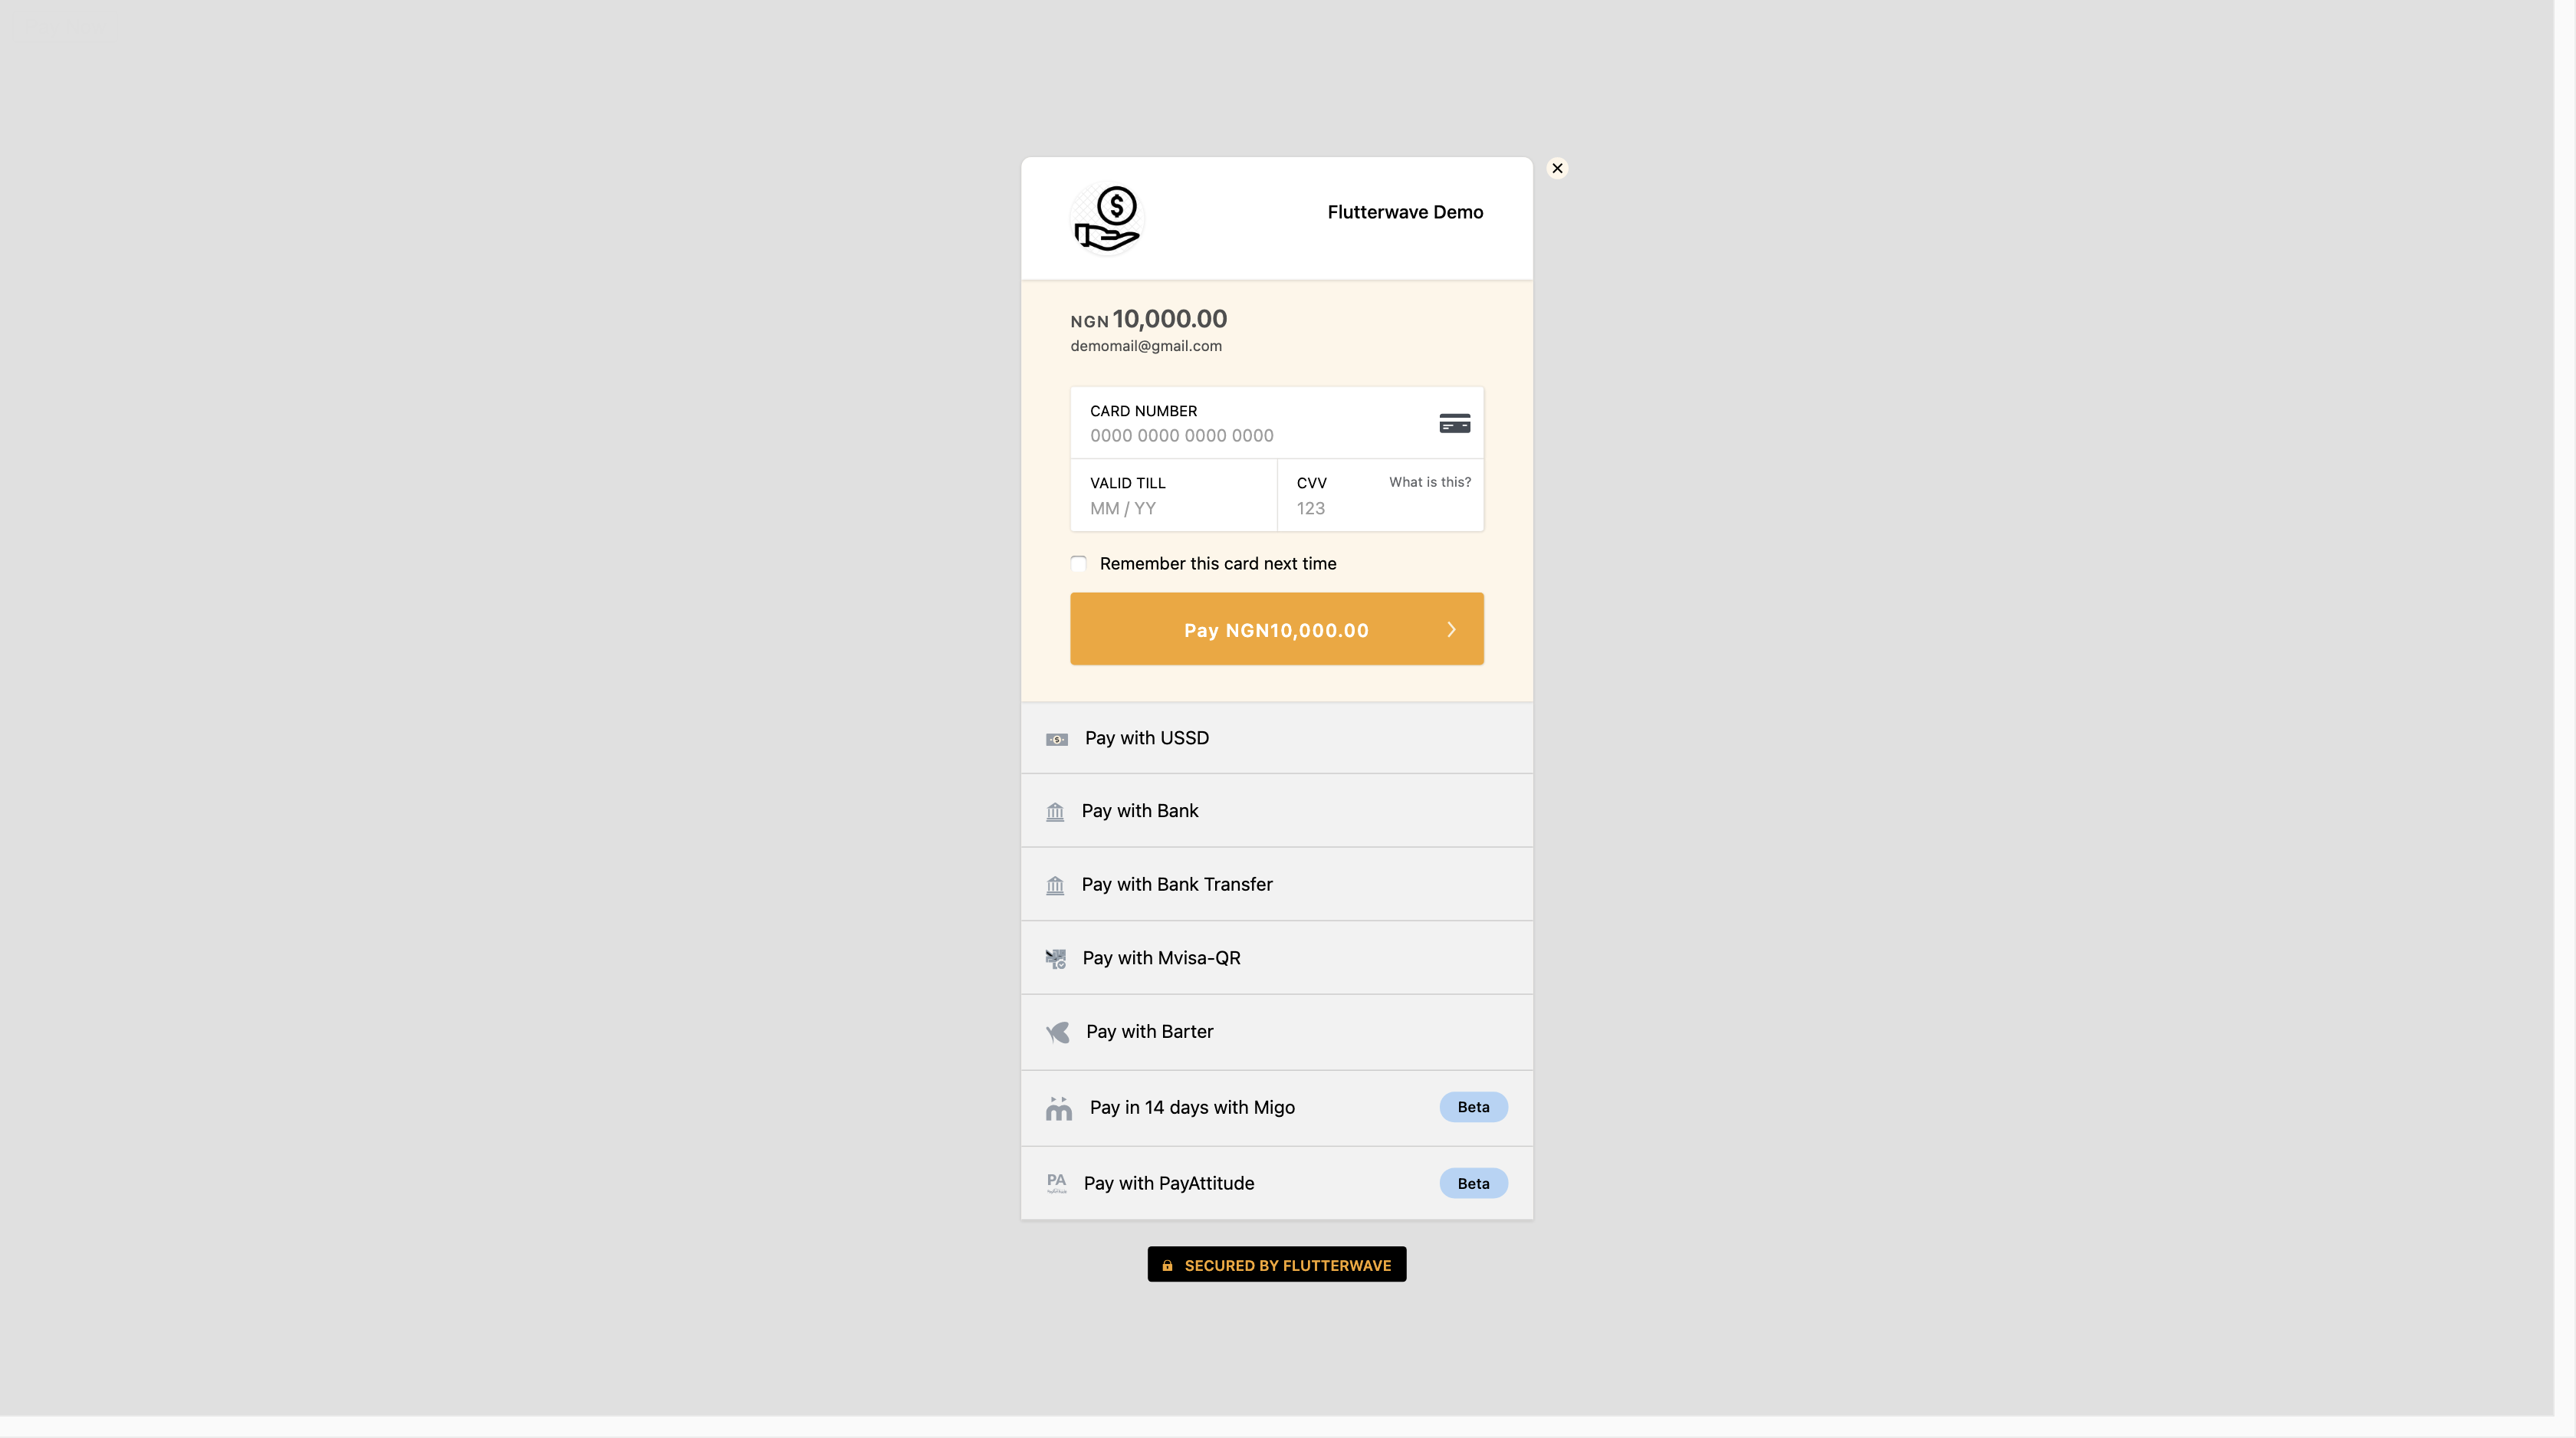
We will use the test card number:4242424242424242, expiry date: 04/25 and CVV: 202. We will be redirected to the page below to enter OTP, which is 12345 because we are using a test card.
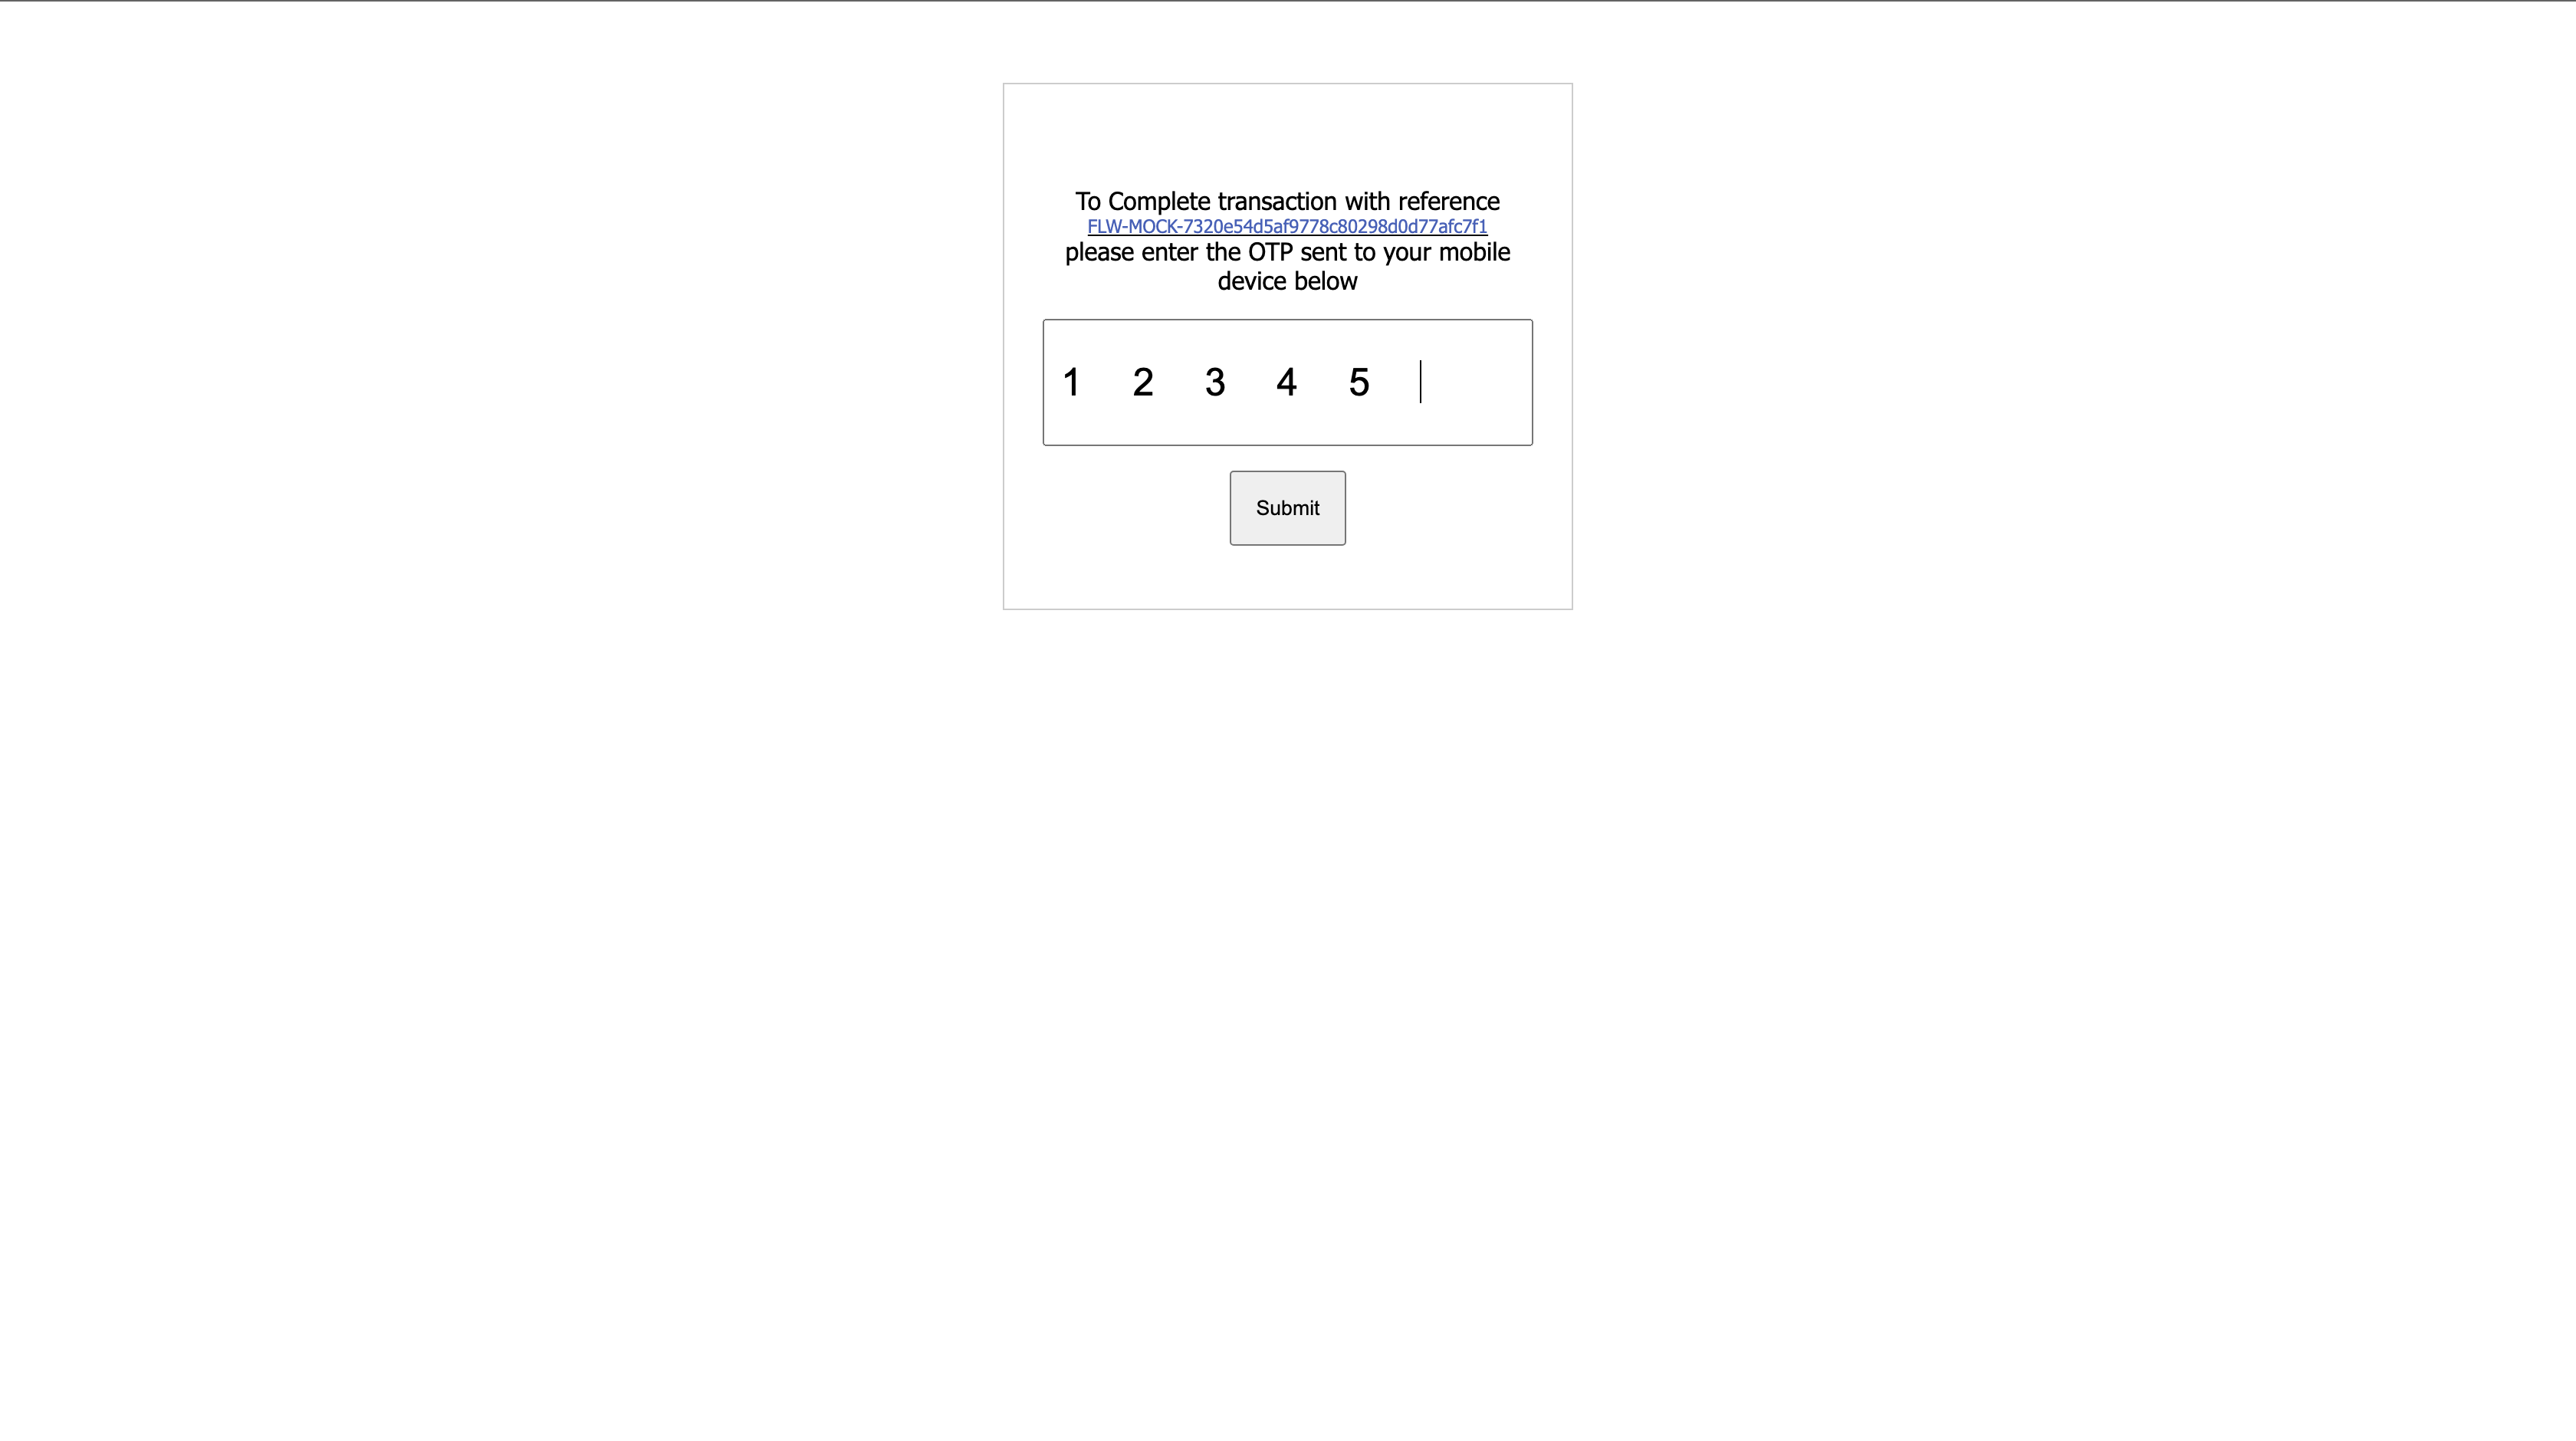
After entering the OTP, we'll be redirected to localhost:3000/response, but nothing will happen. Let's address that by implementing the logic to handle what happens next.
Creating the. /response endpoint, we will update our app.js with the snippet below:
//...

app.get("/response", async (req, res) => {
  const { transaction_id } = req.query;

  // URL with transaction ID of which will be used to confirm transaction status
  const url = `https://api.flutterwave.com/v3/transactions/${transaction_id}/verify`;

  // Network call to confirm transaction status
  const response = await axios({
    url,
    method: "get",
    headers: {
      "Content-Type": "application/json",
      Accept: "application/json",
      Authorization: `${process.env.FLUTTERWAVE_V3_SECRET_KEY}`,
    },
  });

  console.log(response.data.data)
});
We get the transaction_id from the query params of our callback in the code above, and we verify the transaction by sending a request to the flutterwave endpoint. We should see something like the screenshot below in our log.

Let us create a logic to manage operations, such as validating a user's wallet creating wallet transactions and transactions.
In our app.js, let's import Wallet, Wallet transaction, and transaction model.
//...

// importing user context
const User = require("./model/user");

const Wallet = require("./model/wallet");
const WalletTransaction = require("./model/wallet_transaction");
const Transaction = require("./model/transaction");

//...
Updating app.js with the logic to manage operations:
app.get("/response", async (req, res) => {
 //....
});

// Validating User wallet
const validateUserWallet = async (userId) => {
  try {
    // check if user have a wallet, else create wallet
    const userWallet = await Wallet.findOne({ userId });

    // If user wallet doesn't exist, create a new one
    if (!userWallet) {
      // create wallet
      const wallet = await Wallet.create({
        userId,
      });
      return wallet;
    }
    return userWallet;
  } catch (error) {
    console.log(error);
  }
};

// Create Wallet Transaction
const createWalletTransaction = async (userId, status, currency, amount) => {
  try {
    // create wallet transaction
    const walletTransaction = await WalletTransaction.create({
      amount,
      userId,
      isInflow: true,
      currency,
      status,
    });
    return walletTransaction;
  } catch (error) {
    console.log(error);
  }
};

// Create Transaction
const createTransaction = async (
  userId,
  id,
  status,
  currency,
  amount,
  customer
) => {
  try {
    // create transaction
    const transaction = await Transaction.create({
      userId,
      transactionId: id,
      name: customer.name,
      email: customer.email,
      phone: customer.phone_number,
      amount,
      currency,
      paymentStatus: status,
      paymentGateway: "flutterwave",
    });
    return transaction;
  } catch (error) {
    console.log(error);
  }
};

// Update wallet
const updateWallet = async (userId, amount) => {
  try {
    // update wallet
    const wallet = await Wallet.findOneAndUpdate(
      { userId },
      { $inc: { balance: amount } },
      { new: true }
    );
    return wallet;
  } catch (error) {
    console.log(error);
  }
};
We can now update the /response endpoint with all the functions we created to manage different operations.
//...

app.get("/response", async (req, res) => {
  const { transaction_id } = req.query;

  // URL with transaction ID of which will be used to confirm transaction status
  const url = `https://api.flutterwave.com/v3/transactions/${transaction_id}/verify`;

  // Network call to confirm transaction status
  const response = await axios({
    url,
    method: "get",
    headers: {
      "Content-Type": "application/json",
      Accept: "application/json",
      Authorization: `${process.env.FLUTTERWAVE_V3_SECRET_KEY}`,
    },
  });

  const { status, currency, id, amount, customer } = response.data.data;

  // check if customer exist in our database
  const user = await User.findOne({ email: customer.email });

  // check if user have a wallet, else create wallet
  const wallet = await validateUserWallet(user._id);

  // create wallet transaction
  await createWalletTransaction(user._id, status, currency, amount);

  // create transaction
  await createTransaction(user._id, id, status, currency, amount, customer);

  await updateWallet(user._id, amount);

  return res.status(200).json({
    response: "wallet funded successfully",
    data: wallet,
  });
});

//...
Voila 🥳 We're almost done, so let's test our application. After completing payment, we should get something similar to what we have below:
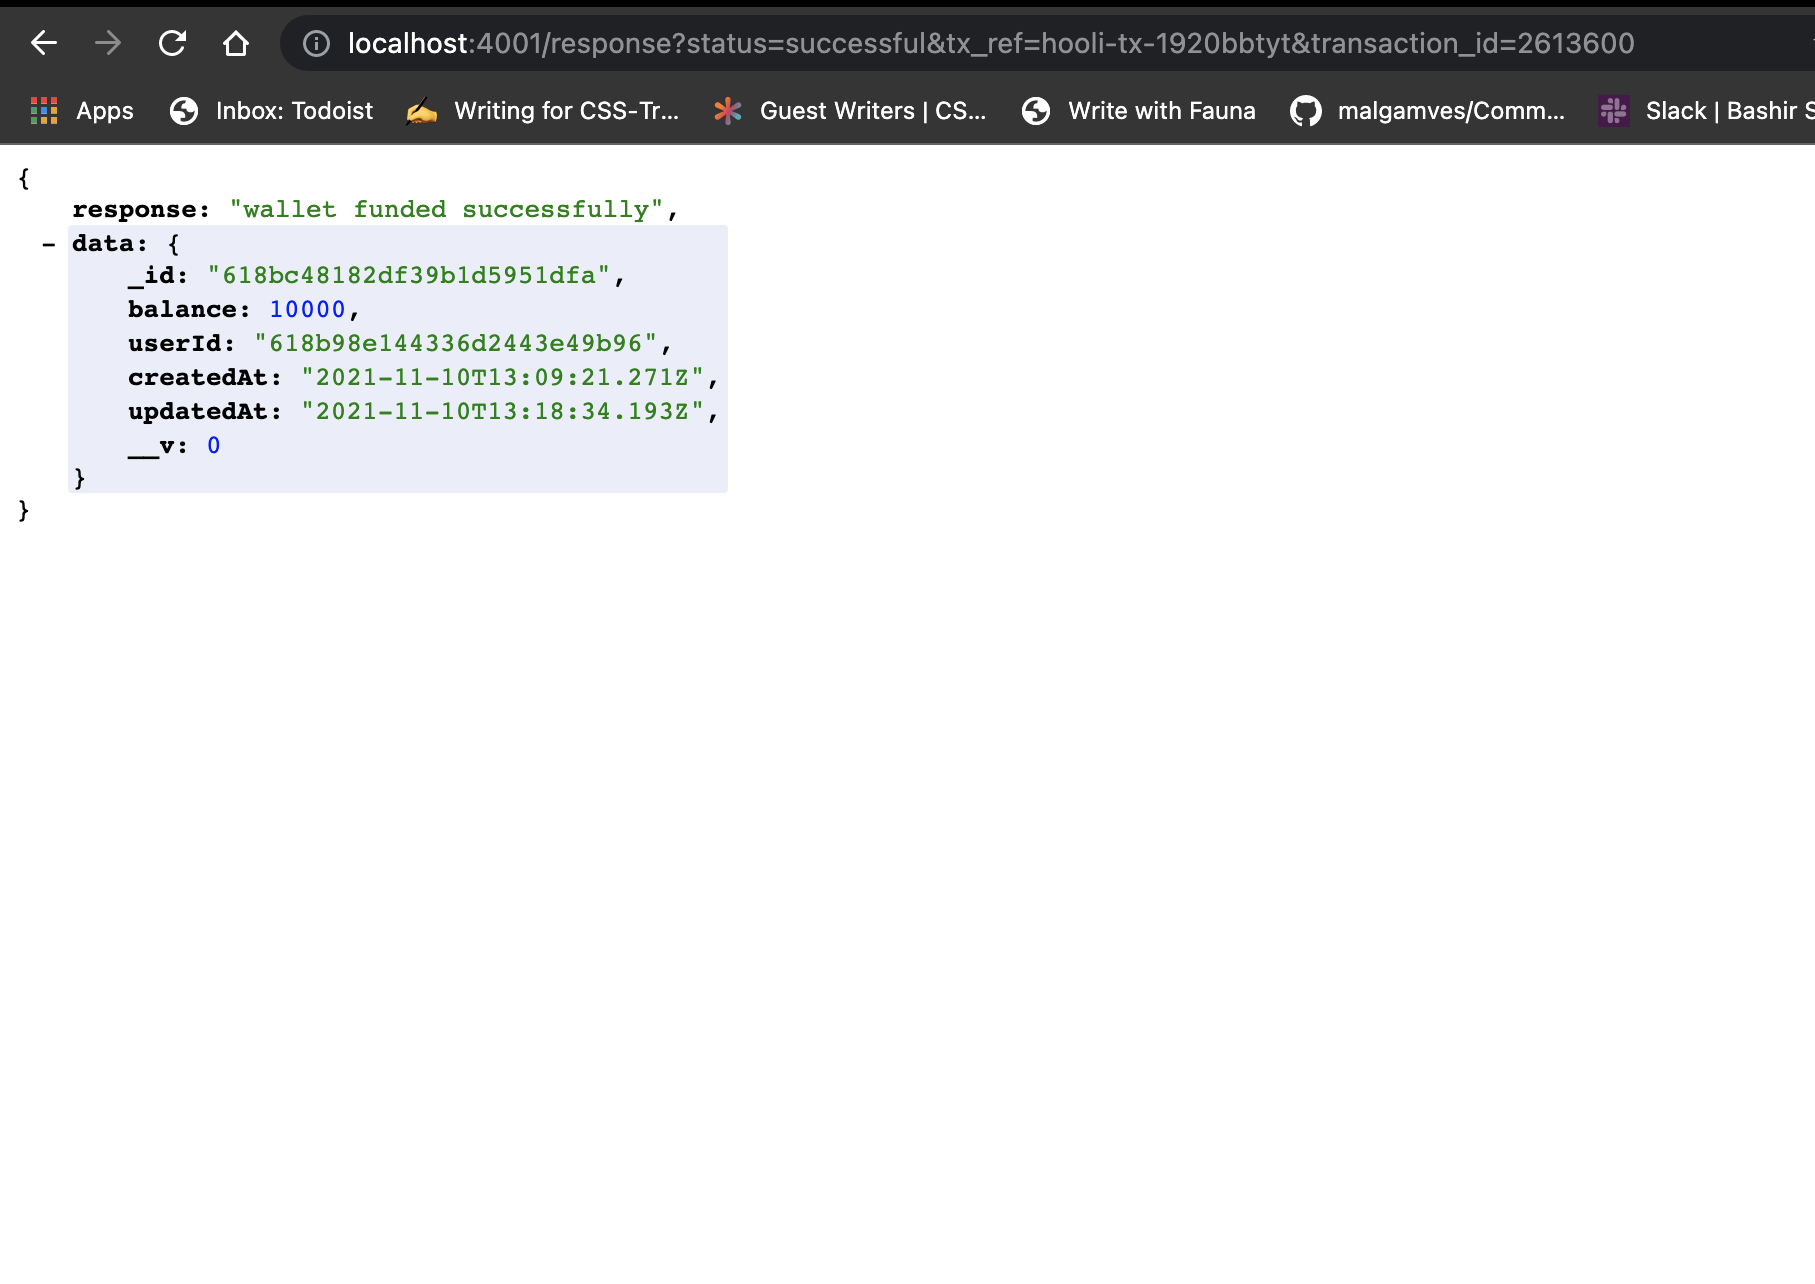
Because of several trials, while trying to fund our wallet, we have a balance of 10,000 in the screenshot above; however, the number may differ if the procedures are done attentively.
Let's create an endpoint to retrieve a user balance with the code snippet below:
//...

app.get("/wallet/:userId/balance", async (req, res) => {
  try {
    const { userId } = req.params;

    const wallet = await Wallet.findOne({ userId });
    // user
    res.status(200).json(wallet.balance);
  } catch (err) {
    console.log(err);
  }
});

//...
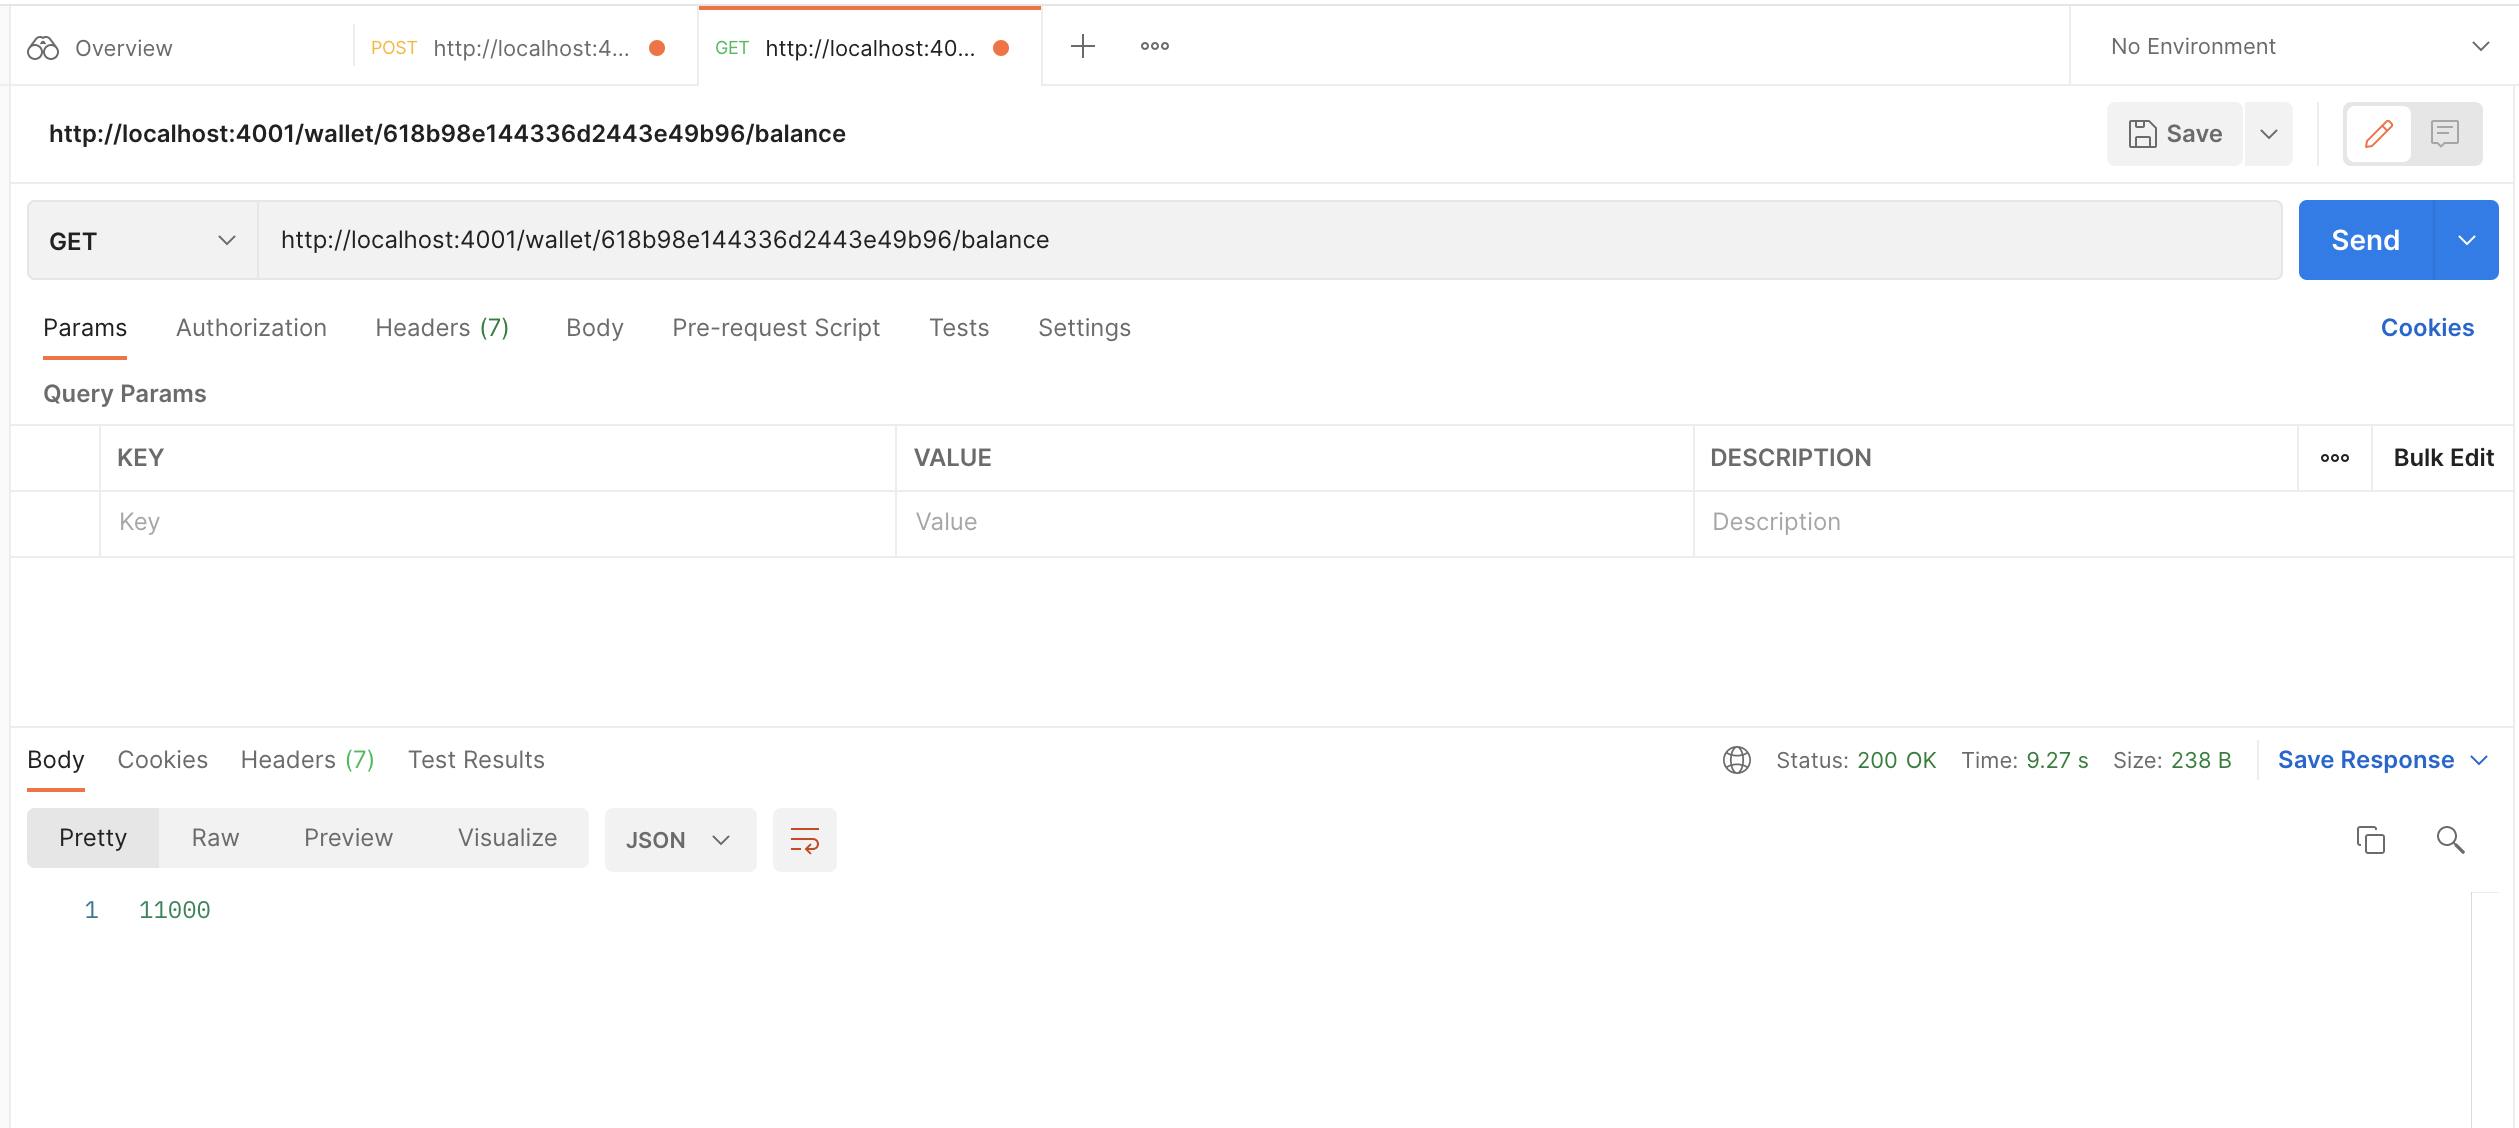
Testing our endpoint that returns the user balance:
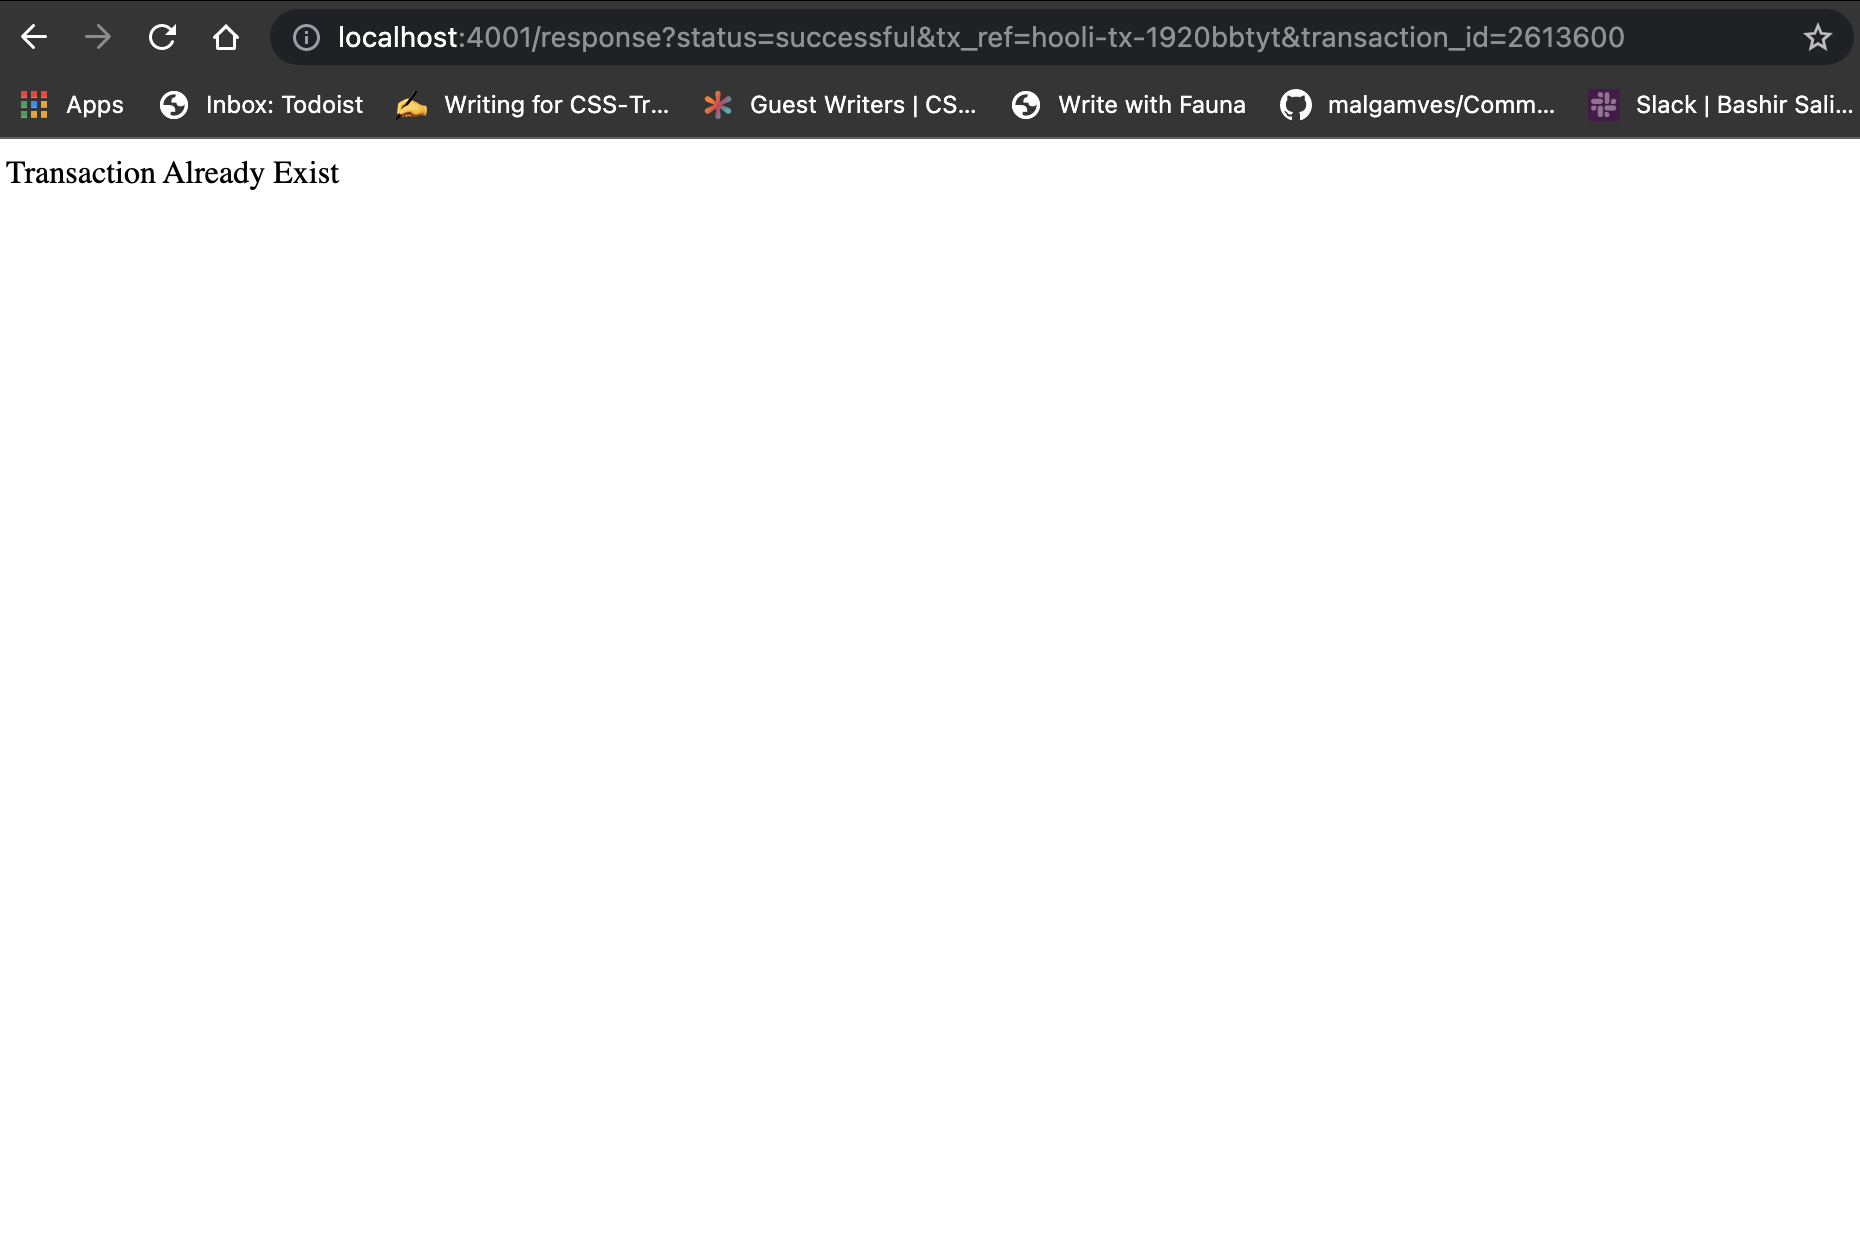
Note: We may have noticed that if we reload the page after being redirected to the '/response' endpoint, the same transaction with the same amount is updated in our wallet. To prevent this, we must verify that such a
transaction_iddoes not exist in our system; otherwise, we will receive a duplicate transaction error.
We can modify our logic as shown below:
//...

app.get("/response", async (req, res) => {
  const { transaction_id } = req.query;

  //...

  const { status, currency, id, amount, customer } = response.data.data;

  // check if transaction id already exist
  const transactionExist = await Transaction.findOne({ transactionId: id });

  if (transactionExist) {
    return res.status(409).send("Transaction Already Exist");
  }

  //...

  return res.status(200).json({
    response: "wallet funded successfully",
    data: wallet,
  });
});
Next, we should see something similar to the screenshot below when refreshing the page.
Complete code is available on GitHub
Conclusion
This article taught us how to build a simple authentication, wallet system, and flutterwave payment integration into our nodeJs application.
References
I'd love to connect with you at Twitter | LinkedIn | GitHub | Portfolio
See you in my next blog article. Take care!!!