How to Install and Setup Nginx on Ubuntu Server

Software Engineer | Developer Advocate | Technical Writer | Content Creator
It's already Friday 🥳, and I'm glad you're here.
We'll see how it goes with another day of problem-solving.
What is Nginx?
Nginx is a free and open-source web server that's frequently used as a reverse proxy or HTTP cache. It's entirely free for Linux users.
We'll install Nginx and set up a primary site in this tutorial.
Prerequisite
- Having a basic understanding of how to utilize the command line
- A computer running Ubuntu Server 20.04 LTS
Nginx Installation
we will use the following command to install Nginx:
sudo apt update
sudo apt install nginx
We have all that is required after installing it.
Let's use the command below to check the nginx status.
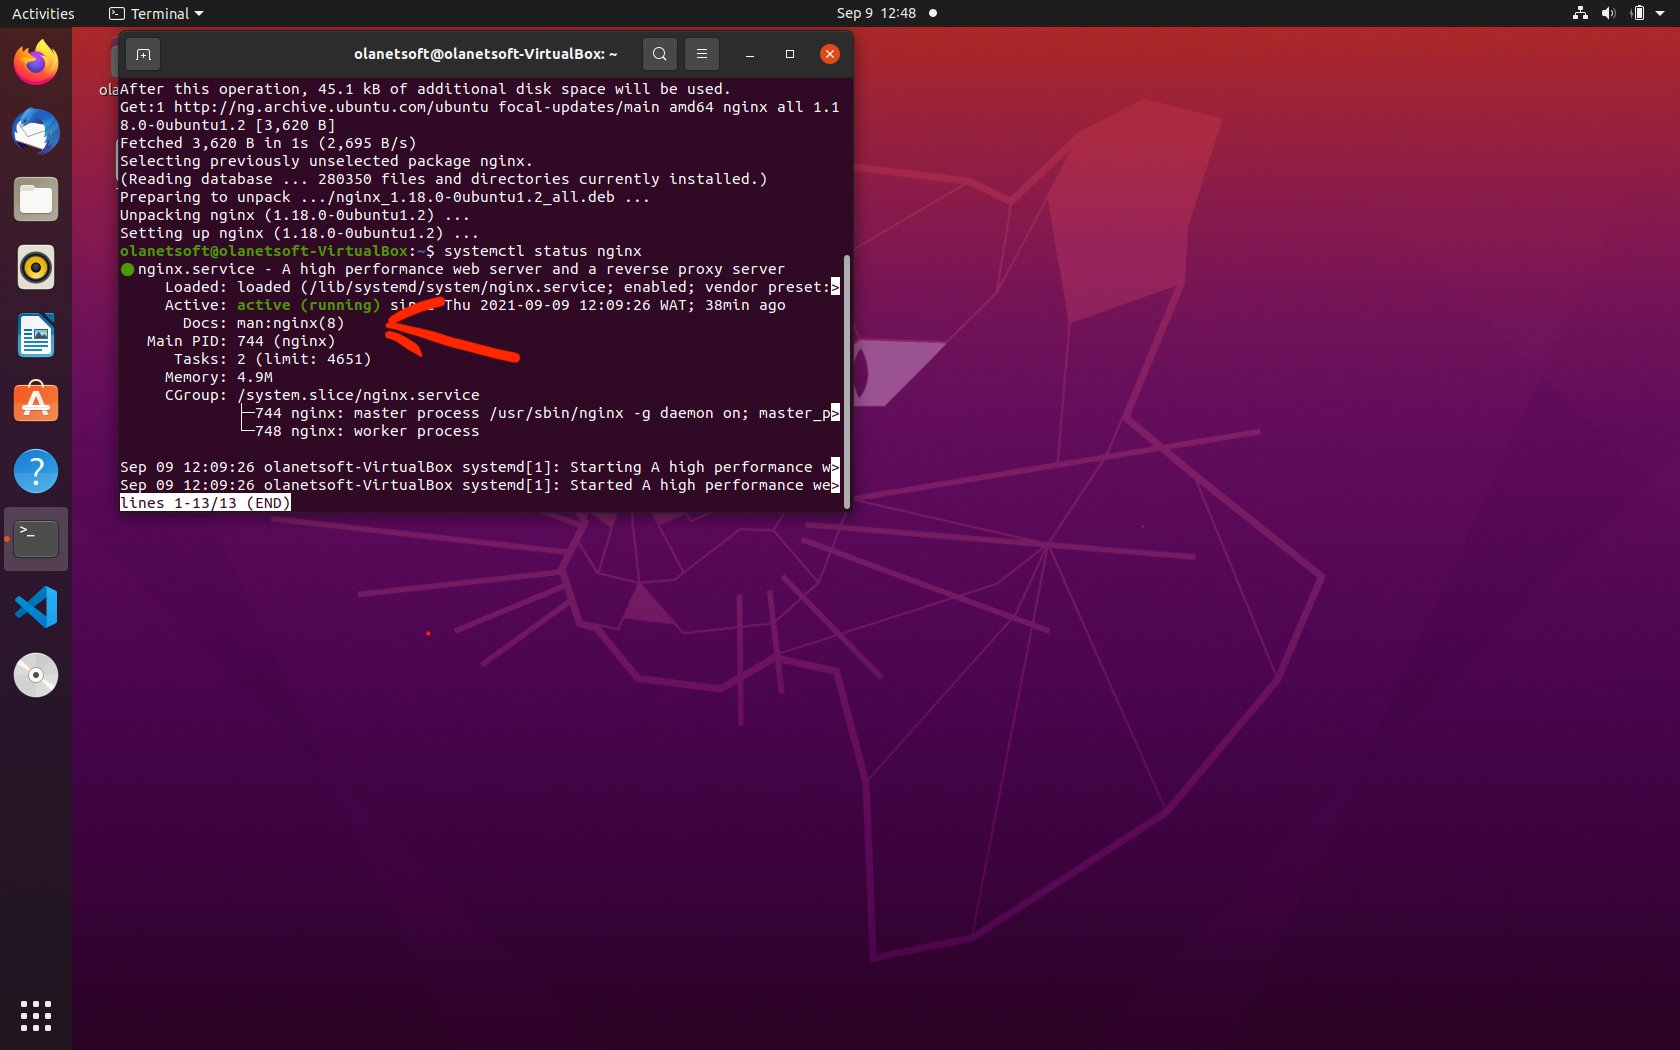
systemctl status nginx
On our terminal, we should be able to see the response shown below.
Kindly visit localhost to preview the sample Nginx page. This is a link to a page you should look at on your browser, as shown below:
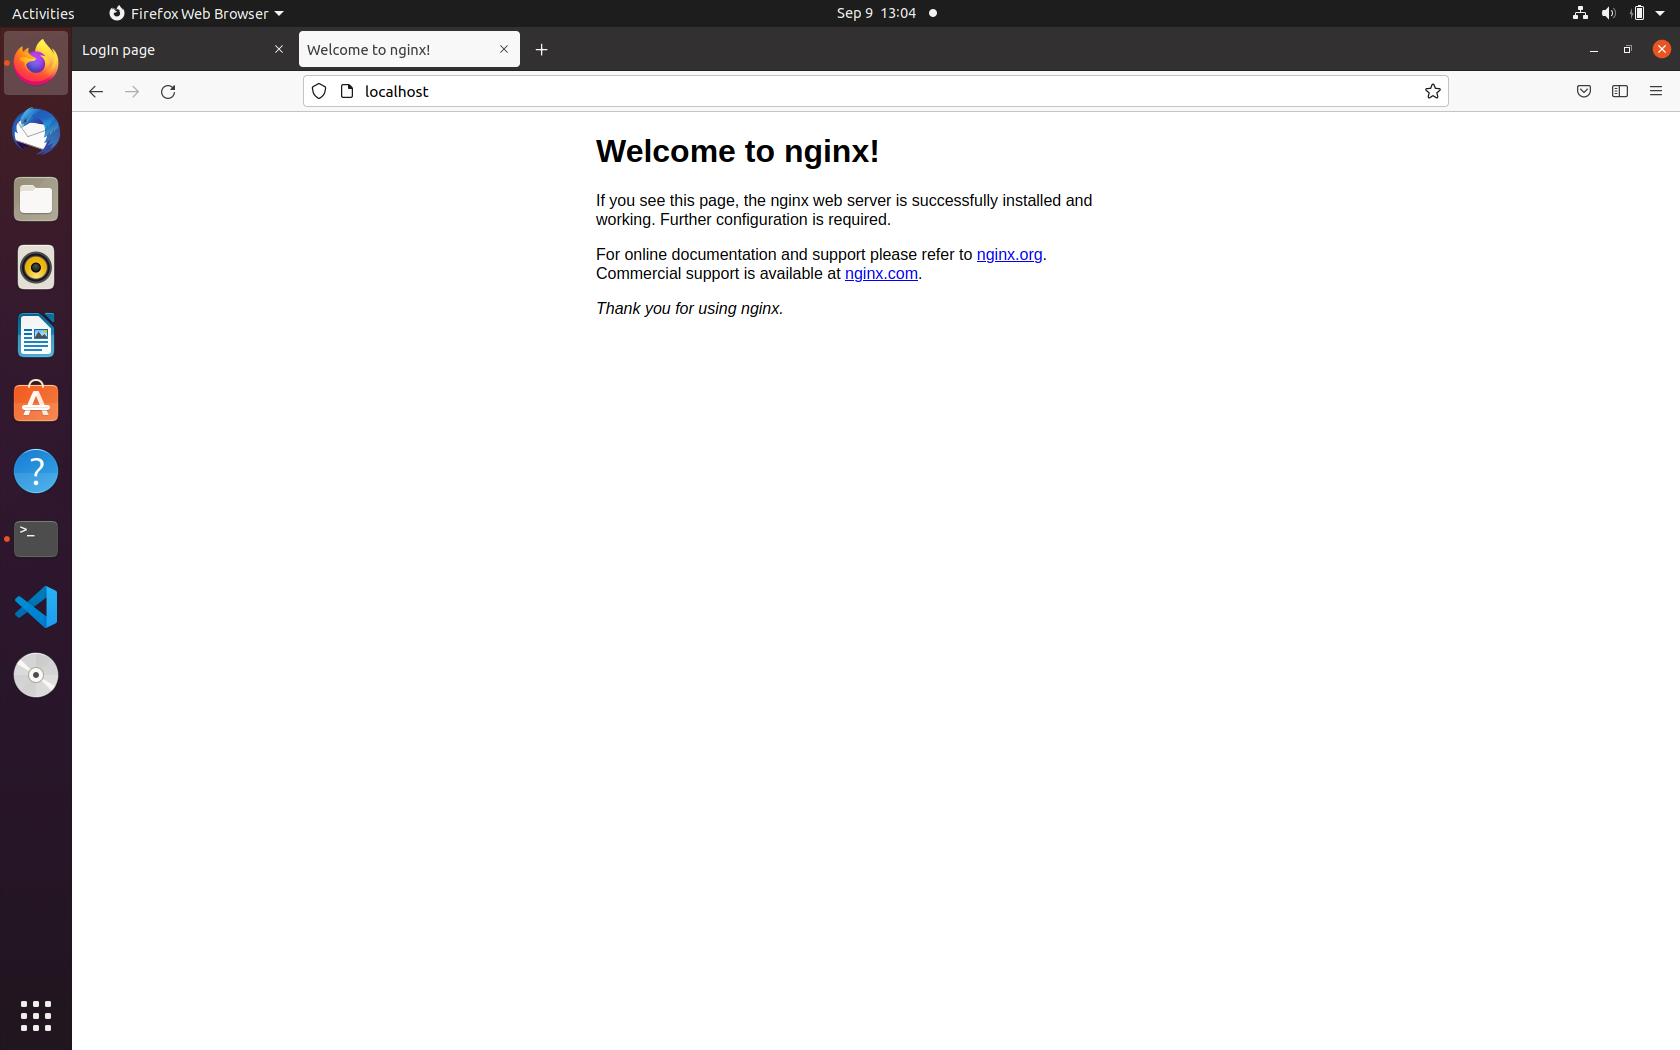
Voila 🥳 we have successfully installed Nginx.
Nginx Process Management
Nginx has basic process management features such as starting, restarting, and stopping.
In the following steps, we'll see how to accomplish all of this process management.
To start the webserver once it has been shut down, type:
sudo systemctl start nginx
To bring your webserver to a halt, type:
sudo systemctl stop nginx
To stop the service and then restart it, type:
sudo systemctl restart nginx
Nginx can frequently reload without losing connections if you're only performing configuration changes. To do so, start typing:
sudo systemctl reload nginx
Nginx Setup
Let's create a demo site that Nginx will serve that we just installed.
The default page is located in the /var/www/html/ directory. You can either put your static pages here or use a virtual host and put them somewhere else.
On Ubuntu 20.04, Nginx has one server block enabled by default, configured to serve documents from the /var/www/html directory. While this is fine for a single site, it can become cumbersome for multiple sites hosting.
Let's create a directory structure within /var/www for our domain site instead of modifying /var/www/html.
Let's make a simple HTML page in a new directory called demo in the /var/www/ directory.
cd /var/www
sudo mkdir demo
cd demo
We will now create an index.html file in this directory using nano.
sudo nano index.html
Paste the snippet below and save:
<!doctype html>
<html>
<head>
    <meta charset="utf-8">
    <title>Nginx Demo</title>
</head>
<body>
    <h1>Welcome to Nginx Server!</h1>
    <p>How to Install and Setup Nginx on Ubuntu Server</p>
</body>
</html>
Type CTRL and X, then Y and ENTER to save and exit the file.
Now that we've built our site, we'll need to configure Nginx to serve it, so let's get started.
We'll make our site available on port 82 instead of the conventional 80 for this demonstration. If you want to, you can modify it.
cd /etc/nginx/sites-enabled
sudo nano demo
Paste the snippet below:
server {
       listen 82;
       listen [::]:82;

       root /var/www/demo;
       index index.html;

       location / {
               try_files $uri $uri/ =404;
       }
}
Type CTRL and X, then Y and ENTER to save and exit the file.
Restart the Nginx service with the command below to get our site running again.
sudo systemctl restart nginx
Let's see whether everything works well. In a web browser, go to our newly created website. Keep in mind that the:82 port was used.
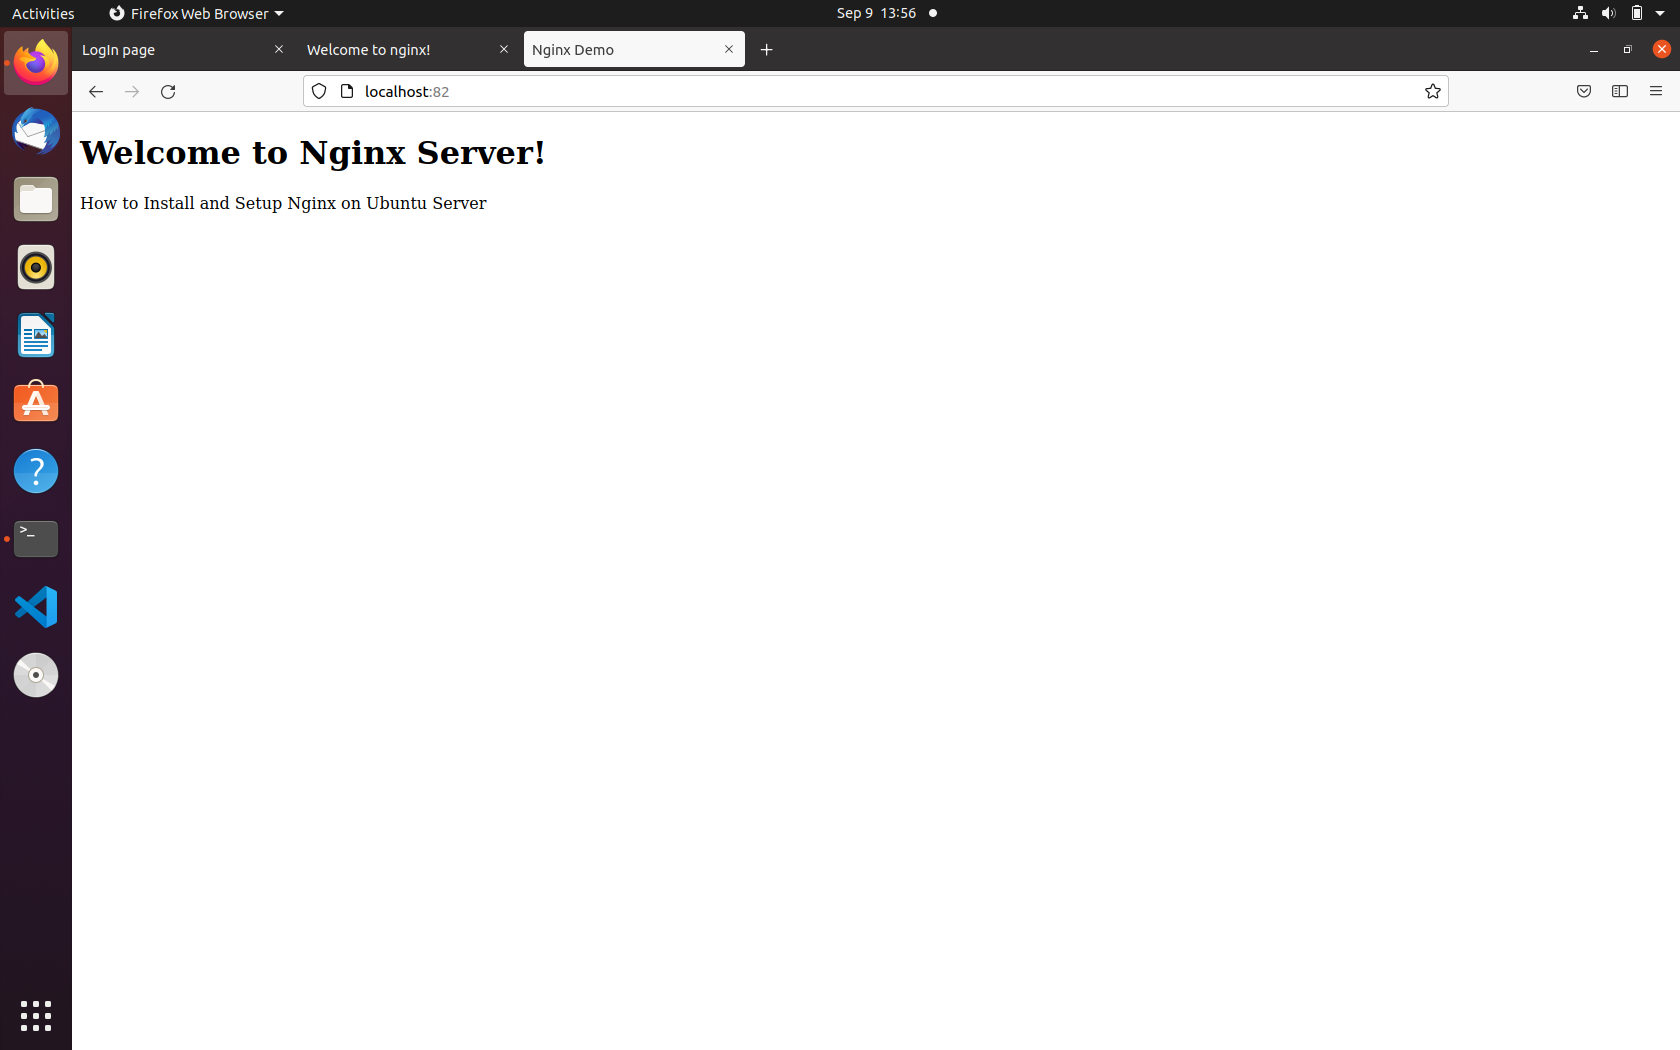
That's it 🥳🥳🥳
Conclusion
We learnt how to install and set up Nginx on an ubuntu server successfully.
Resources
I'd love to connect with you at Twitter | LinkedIn | GitHub | Portfolio
See you next Friday in DevOpsFriday series. Take care!!!